This guide, we will show you “How to Change File Permission Cpanel”. Each file/directory also has permission. There are 3 types of access, so you can set permission for file or folder at Cpanel at ease:
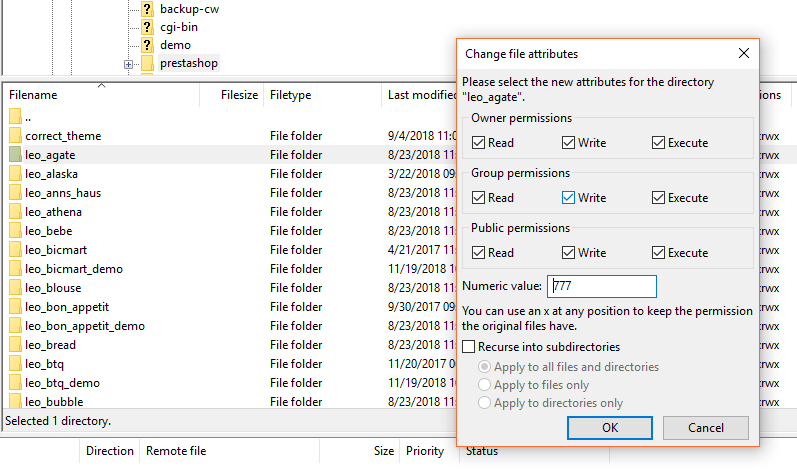
- Read – Denoted as r, files with read access can be displayed to the user.
- Write – Denoted as w, files with write access can be modified by the user.
- Execute – Denoted as x, files with execute access can be executed as programs by the user.
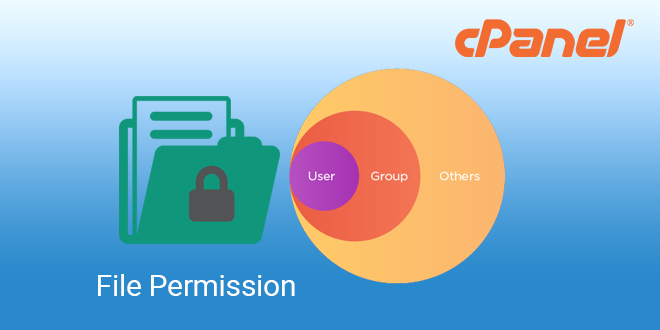
There are 3 types to access. You can set for user group:
- User – The owner of the file.
- Group – Other files which are in the same folder or group.
- World – Everyone else.
The web server needs to be able to read your web pages in order to be able to display them in a browser. The following permissions need to be set in order for your web site to function properly.
- All HTML files and images need to be readable by others. The value for this is 644 (readable by User, Group and World, and writable by User). It is set automatically when you upload files.
- All folders need to be executable by others. The value for this is 755 (readable by User, Group and World, writable by User, executable by User, Group and World). It is set automatically when you create a folder.
- All CGI files (all files in the cgi-bin folder) need to be executable by others. The value for this is 755 (readable by User, Group, and World, writable by User, executable by User, Group, and World). It is not set automatically when you upload files. You need to change the file permissions manually.
How to Change File Permission Cpanel
Login Your Cpanel Account & Open File Manager tool in cPanel and navigate to the existing file or folder which you need to change permission:
Click on the file/folder name.

Then click on the Change Permissions button in the top menu of the File Manager page.
Click on as many check boxes as you require to create the right permission. The permission numbers underneath the check boxes will update automatically.
Click on the Change Permissions button when you are ready. The new permission level is saved and the display updated to show the modified file.
Related PrestaShop Tutorials:
- PrestaShop 1.7.x: How to Install PrestaShop 1.7 Default Theme
- How to Install PrestaShop 1.7 Default on Server | PrestaShop 1.7 Tutorial
- PrestaShop 1.7 Tutorial: How to Add New Category PrestaShop 1.7
- Quickly Update PrestaShop Theme 1.7 for Product Page & Category Profile
- New Theme Folder’s Structure of PrestaShop 1.7
- Prestashop 1.7 Is Released | PrestaShop 1.7 Features You Should to Know
- 10+ Secret Prestashop 1.7 SEO Tips to Get Higher Rank for Store
- PrestaShop 1.7: How to Add Shortcodes in Ap Page Builder Module – Leotheme
- PrestaShop 1.7 Tutorial: How to Add New Category PrestaShop 1.7
- 8 Secret Tips PrestaShop Security Best Practices for E-Store – Leotheme
 Prestashop Themes and Module Blog PrestaShop News, Tutorials & Marketing Tips


